To make a mini coloring book, print four to eight free coloring pages, fold or punch them, add a cover your child designs, and bind it with two staples, a ribbon or a couple of binder rings. It takes about twenty minutes and no special tools. Choosing the pages and drawing the cover is half the fun: the book is theirs before a single page is colored.
Below: what you need, three ways to put it together, how to print so markers don't bleed through, theme ideas from the Meowelo Free Library, and ways to use the finished book.
Affiliate disclosure. Some links below go to Amazon, and Meowelo may earn a commission if you buy through them, at no extra cost to you. As an Amazon Associate I earn from qualifying purchases. Amazon does not sponsor or endorse Meowelo. We list supplies that suit these books, and say what each one is not good for too. Full disclosure.
What you need
- Free coloring pages: the 12 printables in the Meowelo Free Library each have two pages, a short story moment and the same moment drawn to color.
- Paper: ordinary printer paper works; a slightly heavier paper is nicer for the cover and handles markers better.
- A stapler, or a hole punch with ribbon, yarn or two binder rings.
- Something for the cover: a sheet of colored card, or plain paper your child decorates.
The Meowelo printables are square designs with their own white margin, so they print on A4 or US Letter with nothing to trim: choose "Fit" in the print window. More printing tips (scaling, paper weight, ink) are in how to print coloring pages at home.
Three ways to put it together
| Build | How | Best for |
|---|---|---|
| Ribbon book | Stack full-size pages, punch two holes on the left, tie with ribbon or yarn | Ages 6–8; adding pages later |
| Folded-edge book | Fold each printed sheet in half, picture outside; stack and staple along the open edges | Markers: every page has a blank back |
| Stapled booklet | Print two pages per sheet, double-sided, fold the stack and staple along the fold | A real little book shape; crayons and pencils |
1. The ribbon book (easiest)
- Print each coloring page full size.
- Put the cover on top and a plain sheet at the back.
- Punch two holes along the left edge, about 2 cm (an inch) in from the side.
- Thread a ribbon or piece of yarn through each hole and tie a bow, or use two binder rings.
Pages can be added or taken out at any time, and a finished page can be removed for the fridge without spoiling the book.
2. The folded-edge book (best with markers)
- Print the pages two per sheet, single-sided (in the print window, look for "Multiple" or "Pages per sheet: 2").
- Fold each sheet in half with the pictures outside. The blank side is now hidden inside the fold.
- Stack the folded sheets with the folds all on the right.
- Staple two or three times along the open edges on the left, or punch and tie.
Because every picture has a blank page behind it, marker ink can't soak through onto the next scene. It's a traditional binding (sometimes called a French fold) and makes a surprisingly sturdy little book.
3. The stapled booklet (most like a real book)
- Choose a page count that's a multiple of four (8, 12 or 16 pages, counting the cover).
- If you print from Adobe Acrobat Reader, choose "Booklet" in the print window: it puts the pages in the right order, two per side, for you. Otherwise, number the pages lightly in pencil on a folded paper mock-up first and follow it.
- Print double-sided, fold the stack in half, and staple twice along the fold. A long-reach stapler helps; two staples pushed through from the outside onto an eraser and bent flat by hand also work.
This version suits crayons and colored pencils. With markers, the color may show on the back of each page.
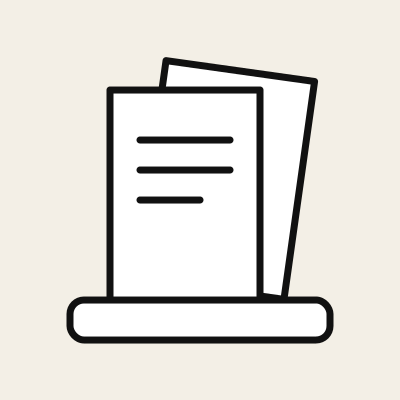
HP Premium32 Printer Paper, 32 lb, Letter
Heavier, smoother paper for keepsake pages, gifts and covers: color sits brighter and markers bleed less.
$22.99 on Amazon.com
Details
Product prices and availability are accurate as of the date/time indicated and are subject to change. Any price and availability information displayed on Amazon.com at the time of purchase will apply to the purchase of this product.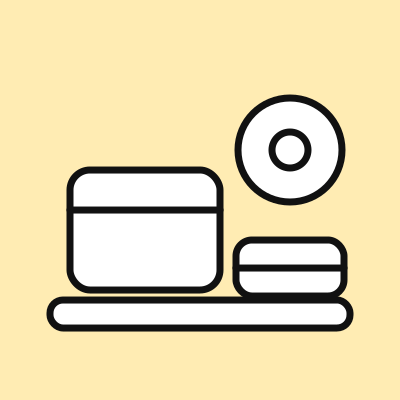
Bostitch Twist-n-Sharp Kids Pencil Sharpener
A kid-friendly manual sharpener with a shavings container: fewer broken points, less mess on the table.
$4.99 on Amazon.com
Details
Product prices and availability are accurate as of the date/time indicated and are subject to change. Any price and availability information displayed on Amazon.com at the time of purchase will apply to the purchase of this product.Theme ideas from the Free Library
A theme turns a pile of pages into a book. Here are three that work with the Meowelo printables, each with its story moments to read before coloring:
| Book | Pages to include |
|---|---|
| A night-time book | Lunai and the Quiet Moon, The Secret Moon Pond, Rinwa and the Crooked Stars, One Lantern at a Time, Home Under the Stars |
| An outdoors book | Naeli's Growing Garden, Pico and the First Tree, The Rainbow Kite, Myro's Surprise Picnic, Myro's Unfinished Map |
| A making-things book | Myro and Cheddo Build a Home, Rinwa and the Crooked Stars, The Rainbow Kite, Cheddo's Little Basket |
Put each story moment on the left and its coloring page on the right, and the mini book reads like a tiny Meowelo story collection. For a longer project, all twelve make a book a term; teachers will find a class version in free coloring pages for classrooms.
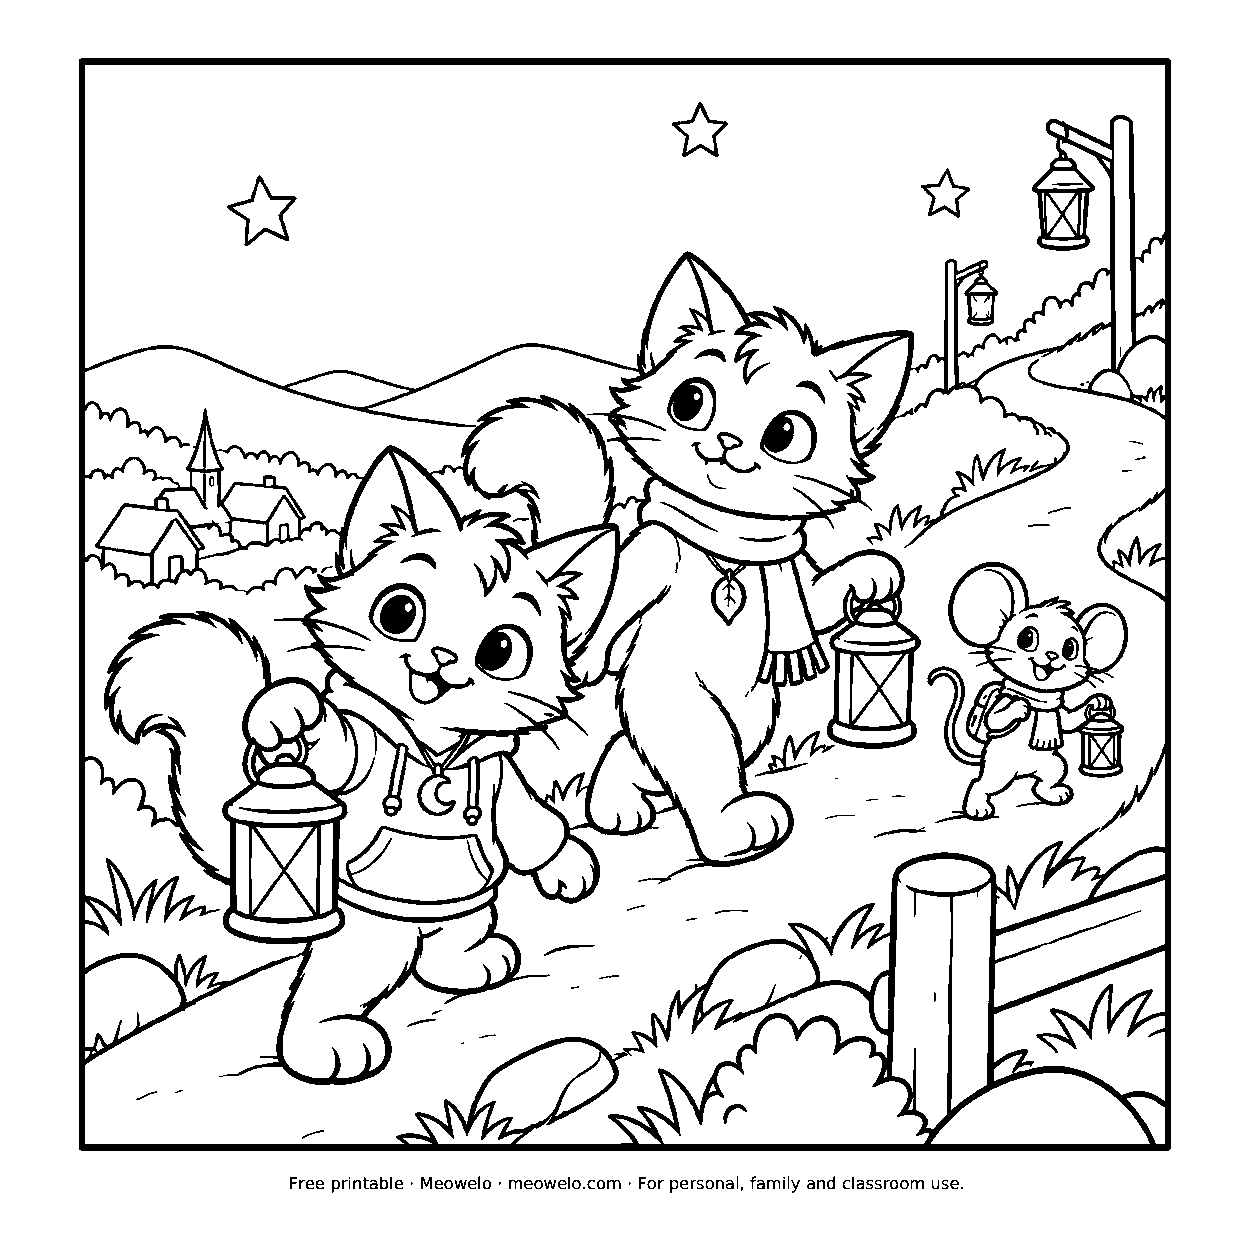
One Lantern at a Time
A lantern walk turns a hill into a trail of warm little lights.
Print it freeThe cover: let your child make it
The cover is where the book becomes theirs. Ideas to offer, not instructions:
- A title in their own lettering: "Lunai's Night Book," "Outside Adventures," or anything they like.
- "Colored by…" with their name, and the date, which makes it a keepsake later.
- A drawing of their favorite character from inside, or a pattern border. The pattern doodles article has easy borders.
- A back cover with a short "about the colorer" line, like a real book.
Add pages of their own
Two or three blank pages at the end turn a coloring book into a story book. Children can draw what happens next, or turn a photo into their own page to color using the steps in make your own coloring page. Older children often enjoy writing a line of story under each picture; story prompts for kids help when they're stuck.
Ways to use the finished book
- Travel: a small book and a pouch of pencils fits in a bag for a car trip, a waiting room or a visit.
- A gift: grandparents love a book colored for them, or one made to color together on a visit; see coloring with grandparents.
- A shared book: two children color alternate pages, or a grown-up and a child each color the same scene.
- A keepsake: finished books stack neatly on a shelf, much easier to keep than loose pages.
The Free Library printables are free for personal, family and classroom use: print as many copies as your household or class needs. Please don't sell printed copies or share the PDFs elsewhere; to share Meowelo, share the printable's page.
For younger and older makers
Ages 6 to 8: the ribbon book is perfect. Four pages and a cover is plenty, and choosing the pages and punching the holes (with help) is part of the fun. Ages 9 to 12: many can make the folded-edge or stapled booklet almost alone, plan a theme, letter the cover and add their own story pages. Some enjoy making one as a present for a younger sibling.
Questions parents ask
How do you make a mini coloring book at home?
How do I stop markers bleeding through a homemade coloring book?
How do you print pages in booklet order?
Can I use the Meowelo free printables to make a book for my class?
The one thing to remember
A mini coloring book is just a few free pages, a cover and two staples, but the choosing, folding and naming make it something your child made. Start with four pages and a theme, and let them design the cover.
Conversation
Join the conversation
Tips, questions and stories from other grown-ups. A person reads every comment before it goes live.
No comments yet. What has worked at your house? Your story might be exactly what another parent needs tonight.