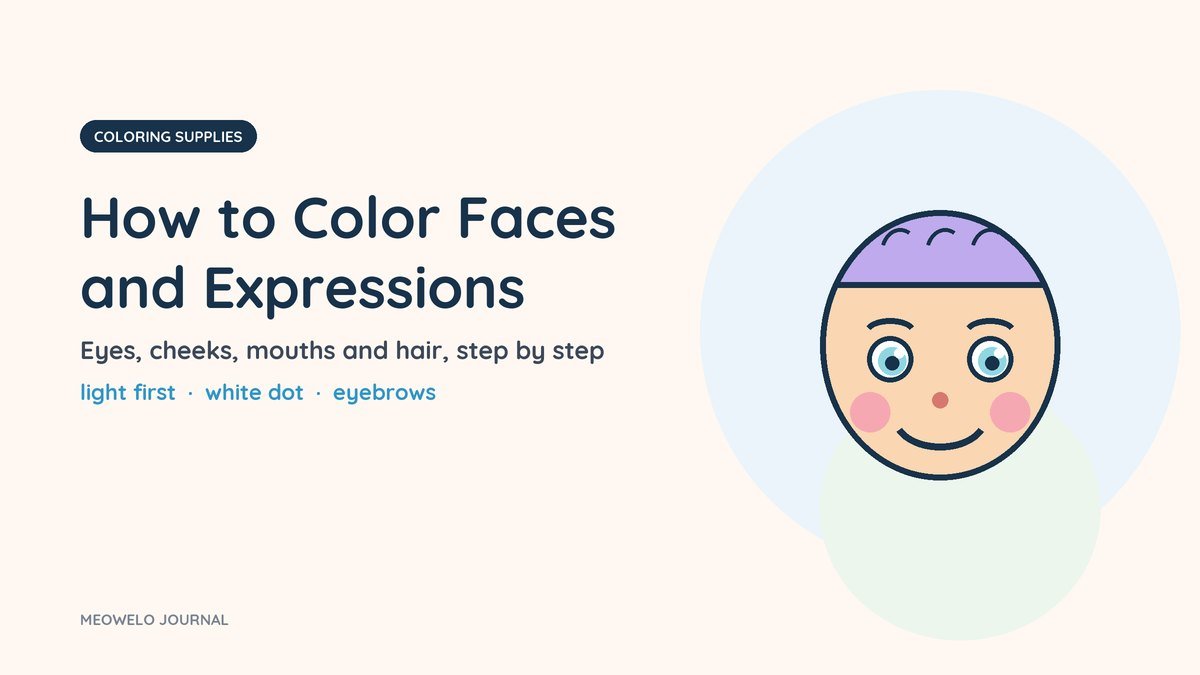

To color a face, work from big and light to small and dark: color the skin evenly first, add a soft touch on the cheeks, then the eyes, mouth and eyebrows with sharp pencils, and the hair last. Keep a tiny white spot in each eye and press lightly near the lines. The eyebrows and the mouth do most of the work of an expression, so a few careful strokes there change the whole face, whatever colors your child chooses.
Below: the order that keeps faces clean, each feature step by step, how expressions work, hair, animal and character faces, and the mistakes that smudge a face.
Affiliate disclosure. Some links below go to Amazon, and Meowelo may earn a commission if you buy through them, at no extra cost to you. As an Amazon Associate I earn from qualifying purchases. Amazon does not sponsor or endorse Meowelo. We list supplies that suit these books, and say what each one is not good for too. Full disclosure.
Why faces feel hard
A face is a small area with many details packed close together. One heavy stroke in the wrong place covers an eye or turns a smile into a smudge, and children notice it more on a face than anywhere else on the page. The fix isn't talent; it's an order of work and a lighter hand. Once children know which part comes first, faces stop being the part they leave white.
The order that keeps faces clean
- Skin, all over, lightly. One even layer across the face, ears and neck, with small circles or short strokes in one direction.
- Cheeks. A soft circle of a warm color on each cheek, over the skin color.
- Eyes. The colored part, then the pupil, keeping the highlight white.
- Mouth. Lips, then the inside, keeping teeth white.
- Eyebrows. Short strokes, the last detail on the face.
- Hair or fur. Last of all, so a hand resting on the page doesn't smear it into the face.
For choosing and layering the skin color itself, see skin-tone colored pencils. Children choose the color of every face, including faces that look like them.
Eyes: the part everyone looks at first
- Sharpen the pencil before you start: eyes need a fine point.
- Color the iris (the colored ring) with light pressure, leaving one tiny white dot in the upper corner.
- Color the pupil darker, still going around the white dot.
- Leave the whites of the eyes white. A whisper of pale gray or blue just under the upper lid makes them look round.
Put the white dot in the same corner of both eyes, on the side the light comes from. The full trick, and why it works, is in how to color shiny things.
Cheeks and noses: a soft touch
Rosy cheeks are a circle of light pressure, not a solid patch. Hold the pencil further back, press gently, and go around in small circles so the color fades at the edges. A touch of the same color on the tip of the nose and the ears ties the face together. Crayons work too: rub very lightly, then smooth the edge with a fingertip or a tissue.
Mouths and smiles
- Lips: a slightly darker or warmer shade than the skin. The bottom lip often catches more light, so keep it a little lighter.
- An open mouth: color the inside dark, the tongue pink or red, and leave the teeth white.
- A small smile: often it's only a line. Leave it as it is, or add a tiny dimple at each end.
How eyebrows and mouths change an expression
Most of what a face says is in two places: the eyebrows and the mouth. On a coloring page the lines are already drawn, but coloring can make an expression clearer: darker eyebrows read stronger, a little shading under the eyebrows looks more serious, and pink cheeks look warmer.
| Expression | Eyebrows | Mouth | A coloring touch |
|---|---|---|---|
| Happy | Relaxed, curved | Corners up | Rosy cheeks, bright white eye dots |
| Surprised | High and round | A small round "O" | Leave more white around the eyes |
| Sleepy | Low and soft | Small, closed | Color the eyelids a shade darker |
| Thinking | One higher than the other | Pulled to one side | A little shade under the lower brow |
| Laughing | Lifted | Wide open | Dark inside the mouth, white teeth |
A game for a rainy afternoon: draw five empty circles and give each one only eyebrows and a mouth from the table. Children are often surprised how much changes with two small lines.
Hair: last, and in the direction it grows
- Color a light base all over the hair, with strokes that follow the direction of the hair.
- Leave a band of lighter color, or white, where the light hits the top of the head.
- Add a few longer strokes in a darker shade for strands, especially near the parting and underneath.
Curly hair works best with small loops instead of straight strokes. The same flicks that make fur look soft are in how to color fur, wood, water and stone.
Animal and character faces
Cats, mice and other animal faces follow the same order, with a few changes:
- Fur first, lightly, with short strokes outward from the nose.
- A lighter muzzle: the area around the mouth and chin often stays paler than the rest of the face.
- Inside the ears: a soft pink or a lighter shade of the fur.
- Whiskers: leave them uncolored, so they show against the fur.
- The nose: small and a little darker, with a tiny white highlight.
Some children like to match the Meowelo friends to how they look in the books; others give every cat a purple coat. Both are right: the child chooses every color.
Which tool for which part
| Part | Best tool | Why |
|---|---|---|
| Skin, fur, big areas | Colored pencils or crayons, light pressure | Even layers you can build up |
| Eyes, mouths, eyebrows | Sharp colored pencils | Control in small spaces |
| Very small features | Fine-tip markers, used carefully | Crisp, but they can't be lightened |
| Highlights added at the end | White gel pen | Shows on top of pencil |
Tools for faces
| Pick | Best for | Good to know | Buy |
|---|---|---|---|
 Skin tones for every faceCrayola Colors of the World Colored Pencils, 24 Count |
Real people can look like real people | Not a full palette on its own: no blues or greens | $5.16 on Amazon.comSave 14% Price as of DetailsProduct prices and availability are accurate as of the date/time indicated and are subject to change. Any price and availability information displayed on Amazon.com at the time of purchase will apply to the purchase of this product. |
|
Sharp pencils for small featuresCrayola Colored Pencils, 36 Count
|
36 shades, including useful in-betweens | Needs a sharpener eventually | $6.57 on Amazon.com Price as of DetailsProduct prices and availability are accurate as of the date/time indicated and are subject to change. Any price and availability information displayed on Amazon.com at the time of purchase will apply to the purchase of this product. |
 Fine tips for tiny detailsCrayola Ultra Clean Fine Tip Washable Markers, 40 Count |
Fine tips for faces, patterns and small spaces | Slow for filling big areas | Currently unavailable on Amazon.com As of DetailsProduct prices and availability are accurate as of the date/time indicated and are subject to change. Any price and availability information displayed on Amazon.com at the time of purchase will apply to the purchase of this product. |
Amazon shows the current price and delivery. Tap any name for our full write-up, including what it’s not good for.
Common mistakes
- Coloring the eyes first: then the skin goes over them. Skin first, eyes after.
- Pressing hard on small features: dark pencil can't be lifted from a tiny eye. Start light and darken slowly.
- A blunt pencil: it fills the whole eye at once. Sharpen before the features.
- Solid red cheeks: press gently and fade the edges, or skip the cheeks.
- Hair before the face: hands smudge it across the page. Hair goes last.
For younger and older colorers
Ages 6 to 8: keep it simple. Skin, cheeks, a white dot in each eye. Crayons and chunky pencils are fine for the skin; offer one sharp pencil for the eyes. Ages 9 to 12: try a light shadow under the chin and along one side of the face, opposite the light, and a second, darker layer in the hair. Older children often enjoy practicing a page of eyes alone before a full picture.
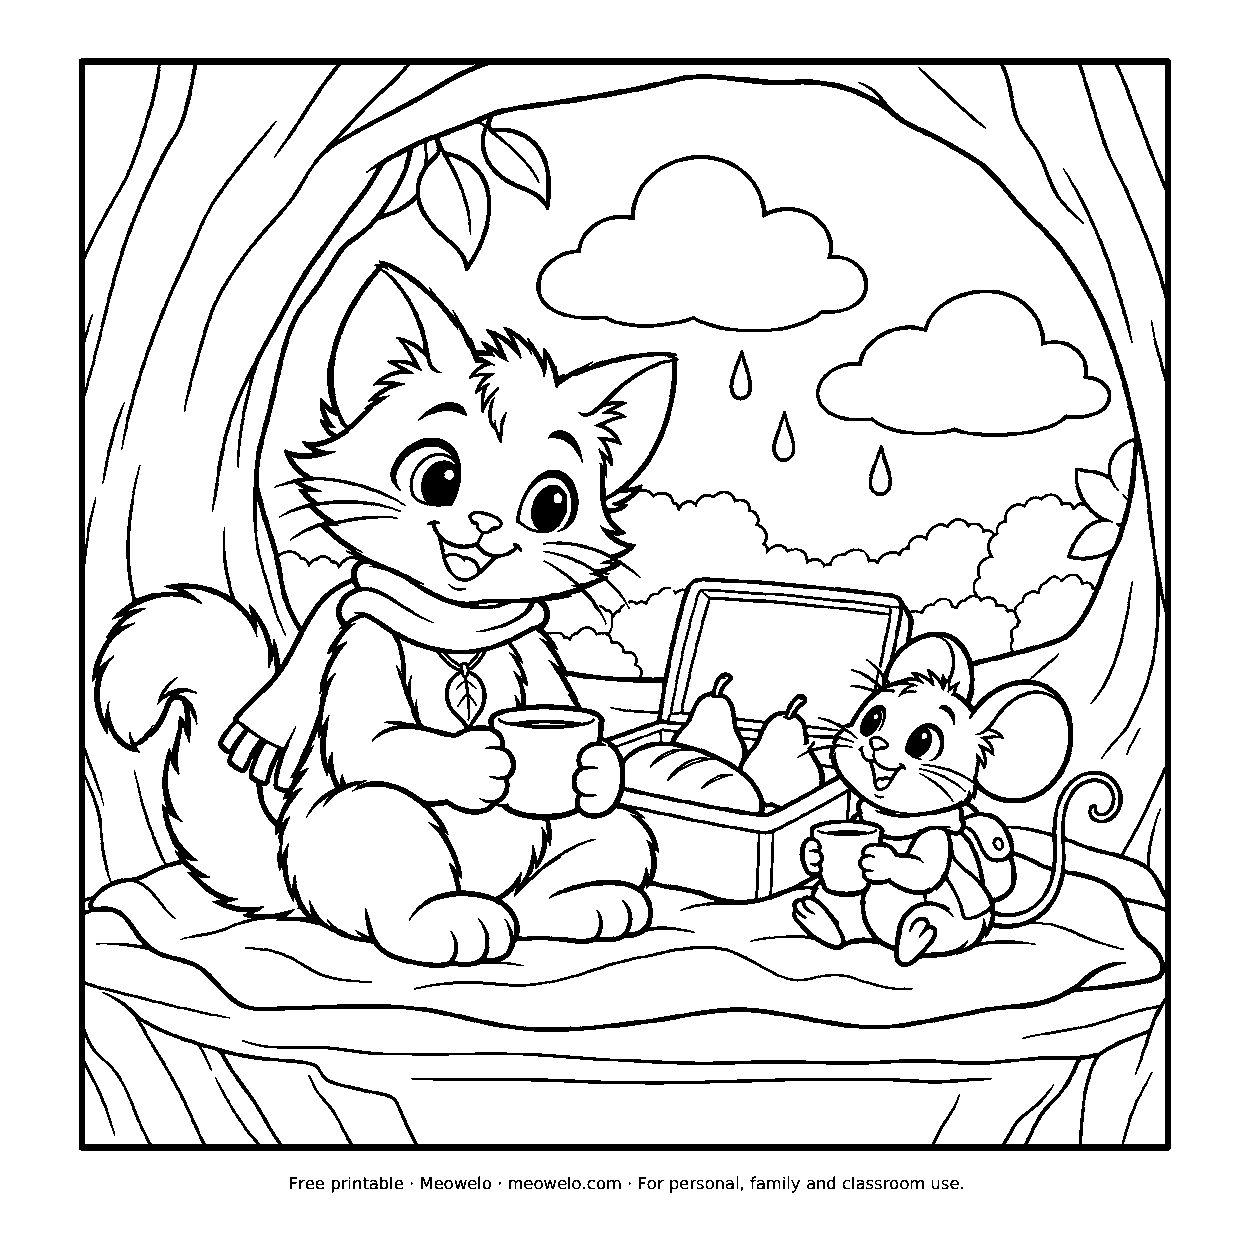
Myro's Surprise Picnic
Clouds lead Myro and Pico to an unexpected picnic room inside a hollow tree.
Print it freeQuestions parents ask
What order should you color a face in?
How do you color eyes with colored pencils?
How do you color rosy cheeks?
How do you show an expression when coloring?
The one thing to remember
Big and light first, small and dark last. Color the face before its features, keep a white dot in each eye, and let the eyebrows and mouth tell the rest.



Conversation
Join the conversation
Tips, questions and stories from other grown-ups. A person reads every comment before it goes live.
No comments yet. What has worked at your house? Your story might be exactly what another parent needs tonight.