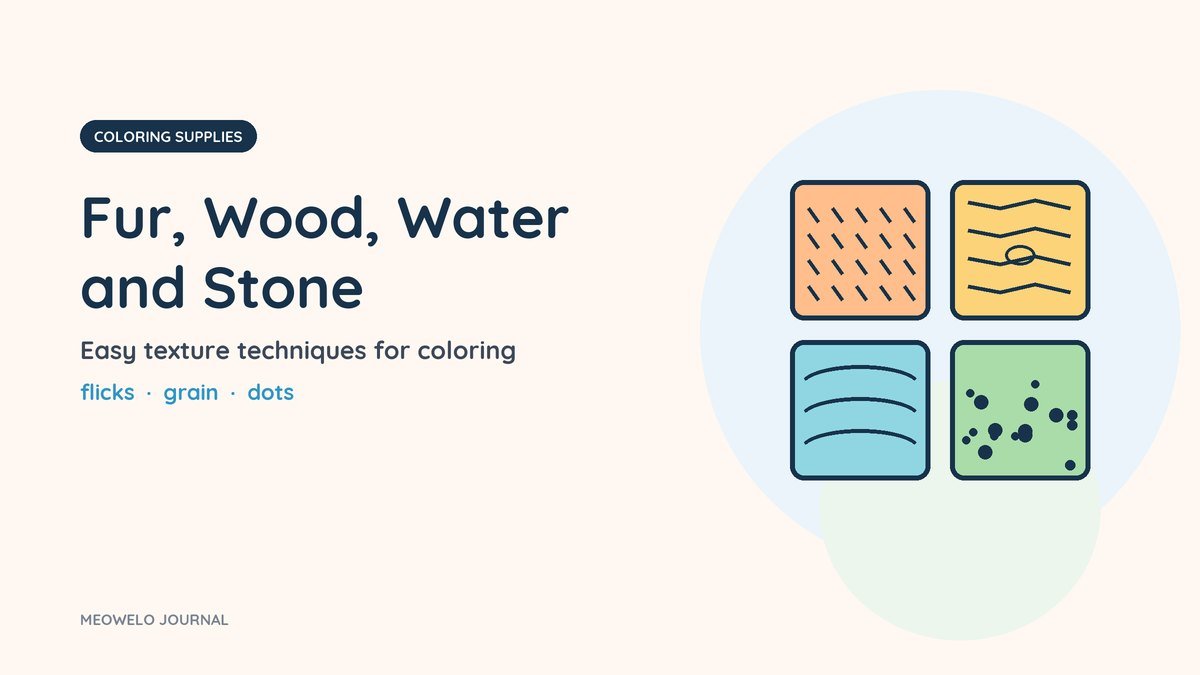

To color textures, change the shape of your strokes rather than the color: short, flicked strokes in the direction the fur grows, long wavy lines along wood, curved bands for water, and dots or small circles for stone. Start with a light layer of the main color, add the texture strokes in a slightly darker shade, and leave a few gaps of paper showing. The same picture suddenly looks soft, rough, shiny or bumpy, and children love seeing it happen.
Below: the four textures that turn up most on coloring pages, step by step, which tool suits each one, and a couple of tricks for the oldest colorers.
Affiliate disclosure. Some links below go to Amazon, and Meowelo may earn a commission if you buy through them, at no extra cost to you. As an Amazon Associate I earn from qualifying purchases. Amazon does not sponsor or endorse Meowelo. We list supplies that suit these books, and say what each one is not good for too. Full disclosure.
Why texture makes such a difference
A flat color tells you what something is. A texture tells you what it would feel like to touch: a soft cat, a rough fence, a cold pond. Children of 6 to 12 are often ready to try this once they can fill shapes comfortably, and it's one of the quickest ways for a page to look "like a real picture" without needing more colors.
The secret is that texture is mostly about the direction and shape of the strokes. Colored pencils are the easiest tool for it, crayons give a lovely rough look, and markers can do it too with fine tips.
Fur: short strokes, in the direction it grows
- Light base: color the whole animal lightly in its main color.
- Find the direction: fur grows away from the nose, down the back and along the tail. Strokes follow that direction.
- Flick: make short strokes that start with pressure and lift off at the end, like a tiny comma. Overlap them in rows.
- Darker near the body: add a few darker flicks where fur meets fur (under the chin, behind the legs).
- Leave gaps: tiny bits of paper showing between the strokes look like light catching the fur.
Fluffy tails and round cats are perfect for practicing. A tabby's stripes are just a few rows of darker flicks.
Wood: long lines with a few knots
- Color the plank or tree trunk lightly in a light brown or tan.
- Draw long, slightly wavy lines along the length of the wood, closer together in some places than others.
- Add one or two oval knots and let the lines curve around them.
- Add a darker brown along one edge for shadow.
Fences, doors, tables, tree trunks and treehouses all come alive with this one. Wood doesn't have to be brown, either: a blue-gray fence or a red barn door works just as well.
Water: curved bands and white gaps
- Color the water in a light base, usually blue or green, but any color works.
- Add curved bands going side to side in a slightly darker shade, like gentle waves.
- Leave thin white gaps between some bands: they look like light shining on the surface.
- Near the edges and under objects (a boat, a lily pad), add a darker band for depth.
With crayons, a white crayon pressed hard on the paper before coloring keeps the shine white even when you color over it.
Stone: dots, speckles and one dark side
- Color the stone or rock lightly in gray, sand or any color you like.
- Add dots and tiny circles in a darker shade, some close together, some apart.
- Add a few short cracks with a sharp pencil.
- Choose where the light comes from, and darken the opposite side of each stone.
Pebble paths, stone walls and mountain rocks all use the same trick.
Which tool for which texture
| Texture | Easiest tool | Tip |
|---|---|---|
| Fur | Colored pencils | A sharp point for flicks; light pressure |
| Wood | Colored pencils or crayons | Crayon grain looks naturally rough |
| Water | Crayons, pencils or broad markers | Leave white gaps for shine |
| Stone | Fine-tip markers or pencils | Dots are faster with a marker |
Our comparison of crayons, colored pencils and markers explains each tool, and how to fill big areas covers the light base layers that every texture starts with.
These are the picks from our Creative Supplies shelves that make textures easiest, each with an honest note on who it suits:
Tools for fur, wood, water and stone
| Pick | Best for | Good to know | Buy |
|---|---|---|---|
 Soft pencils for flicks and long linesCrayola Colored Pencils, 36 Count |
36 shades, including useful in-betweens | Needs a sharpener eventually | $6.57 on Amazon.com Price as of DetailsProduct prices and availability are accurate as of the date/time indicated and are subject to change. Any price and availability information displayed on Amazon.com at the time of purchase will apply to the purchase of this product. |
|
Warm browns and tans for fur and woodCrayola Colors of the World Colored Pencils, 24 Count
|
Real people can look like real people | Not a full palette on its own: no blues or greens | $5.16 on Amazon.comSave 14% Price as of DetailsProduct prices and availability are accurate as of the date/time indicated and are subject to change. Any price and availability information displayed on Amazon.com at the time of purchase will apply to the purchase of this product. |
 Fine tips for dots and specklesCrayola Ultra Clean Fine Tip Washable Markers, 40 Count |
Fine tips for faces, patterns and small spaces | Slow for filling big areas | Currently unavailable on Amazon.com As of DetailsProduct prices and availability are accurate as of the date/time indicated and are subject to change. Any price and availability information displayed on Amazon.com at the time of purchase will apply to the purchase of this product. |
Amazon shows the current price and delivery. Tap any name for our full write-up, including what it’s not good for.
Tricks for the oldest colorers (10–12)
- Texture rubbing: put a leaf, coin or piece of mesh under the page and rub over that area with the side of a crayon.
- Two textures side by side: a smooth pond next to rough stones makes both look stronger.
- Indented lines: press firmly with a dry ballpoint (no ink) to draw fur or wood lines first, then color over them: the lines stay pale.
Instead of
That doesn't look like fur.
Try
Want to try a few little flicks, going the way the fur grows?
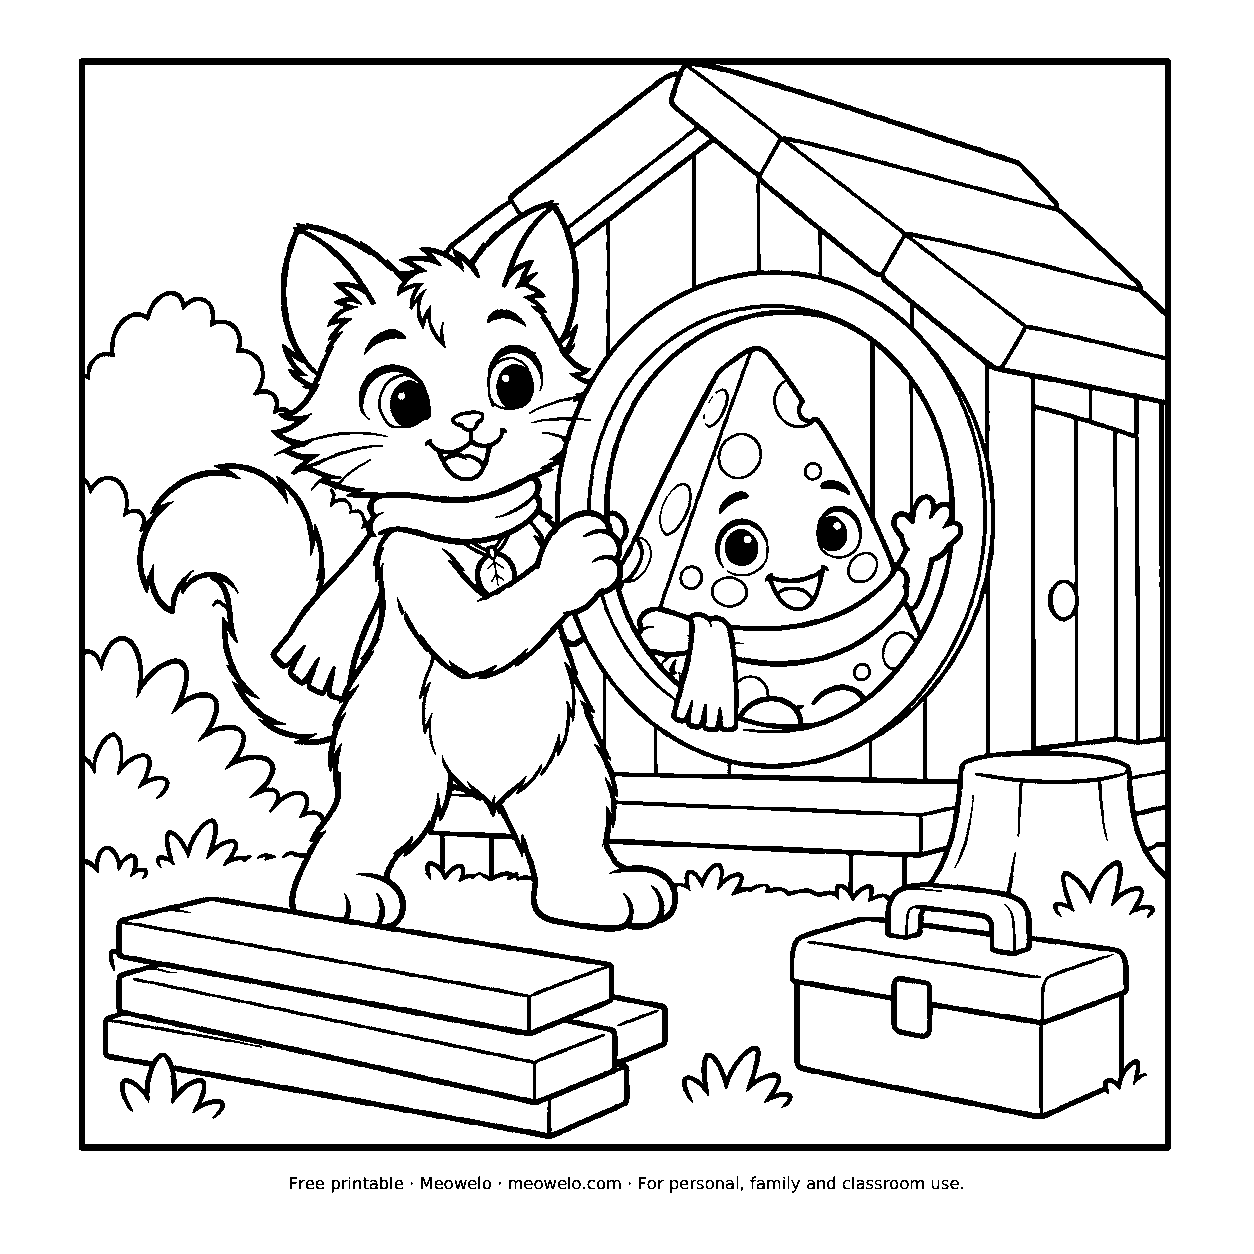
Myro and Cheddo Build a Home
A round window turns house-building into a small game for Myro and Cheddo.
Print it freeQuestions parents ask
How do you color fur with colored pencils?
How do you make wood look real when coloring?
How do you color water?
What age can kids learn coloring textures?
What is the best tool for coloring textures?
The one thing to remember
Texture is the shape of your strokes, not the color: flicks for fur, long lines for wood, waves for water, dots for stone. Show one, then let your child decide which parts of their picture should feel soft, rough or shiny.


Conversation
Join the conversation
Tips, questions and stories from other grown-ups. A person reads every comment before it goes live.
No comments yet. What has worked at your house? Your story might be exactly what another parent needs tonight.