The coloring techniques that matter most for children aged 6 to 12 build on each other in a simple order: first even, light layers that fill a shape without streaks, then choosing colors that work together, then blending, then texture, then light and shadow. Once those five are comfortable, faces, skies, trees and shiny things are just the same ideas used on different subjects. This guide walks through them in that order and links to a step-by-step Meowelo article for each one.
Nothing here is a rule. The child chooses every color, purple grass included. Techniques simply give them more ways to make a picture look the way they imagine it.
How children's coloring changes from 6 to 12
A six-year-old colors big shapes in bold, single colors and is proud to fill the page. By ten or eleven, many children want shading, patterns and details, and some become frustrated when the page doesn't match the picture in their head. Knowing what's typical at each age helps you offer the right technique at the right moment, and not too early. Coloring from 6 to 12 describes the changes year by year and what to offer at each stage.
Step 1: fill a shape evenly, without pressing hard
Almost every other technique depends on this one. Children press hard to make color dark, which streaks, tires the hand and snaps crayons. The fix is to use the widest part of the tool, color in small overlapping circles or strokes all going the same way, and build the color in two or three light layers. It's all in how to fill big areas when coloring, which also covers sore hands and which tool fills fastest.
Which tool suits which job matters here too: crayons for big areas, colored pencils for control, markers for bright solid color. Crayons vs colored pencils vs markers compares them for coloring pages.
Step 2: choose colors that work together
Children don't need theory to enjoy color, but four simple ideas open a lot of doors: the color wheel, warm and cool colors, light and dark, and colors that look exciting side by side. Color theory for kids explains them with six easy experiments. Two games make the ideas stick without any lesson: the three-color challenge, where a whole page is colored with only three colors, and filling shapes with pattern doodles instead of one flat color.
Step 3: blend one color into another
Sunsets, autumn leaves and soft shadows all need one color to melt into the next. With crayons, color the first color lightly, layer the second lightly where they meet, build both up, and smooth the join with a white or very light crayon. The five techniques, and which color pairs blend best, are in how to blend with crayons. Colored pencils blend the same way, in thin layers: see colored pencils for kids for sets that layer well.
Step 4: texture, with the shape of the strokes
Fur, wood, water and stone don't need special colors: they need different strokes. Short flicks in the direction fur grows, long wavy lines along wood, curved bands for water, dots for stone. How to color fur, wood, water and stone shows each one step by step, with tricks for the oldest colorers.
Step 5: light, highlights and shadow
The single biggest jump in how "real" a picture looks comes from light. Pick a corner the light comes from, leave a small white highlight on that side, and darken the opposite edge. That one idea makes glass look like glass, metal look like metal and a raindrop look wet: see how to color shiny things. The same white-first thinking lets stars and a moon glow against a dark sky in how to color a night sky.
Putting it together: subjects children color most
| Subject | Techniques it uses | Step-by-step guide |
|---|---|---|
| Faces and expressions | Even layers, soft cheeks, eye highlights | How to color faces and expressions |
| Trees and leaves | Stroke direction, several greens, autumn blends | How to color trees and leaves |
| Night skies | Keeping white, fades from light to dark | How to color a night sky |
| Glass, metal, water drops | Highlights and dark edges | How to color shiny things |
| Animals and fur | Texture strokes | How to color fur, wood, water and stone |
| People of every skin tone | Layering browns, creams and warm tones | Skin-tone colored pencils |
Make your own pages to practice on
A technique sticks best on a picture the child cares about. Tracing a favorite photo or one of their own drawings, thickening the lines and closing every shape turns it into a coloring page in ten minutes: see how to make your own coloring page. For ready-made pages to practice on, the twelve Meowelo story printables are free: free story coloring pages.
When techniques get in the way
Techniques are tools, not a test. A child who colors outside the lines, chooses one color for everything or copies pictures is usually doing exactly what helps them learn, and correcting it rarely helps. Should kids color inside the lines? and is it OK to copy pictures? explain why. If a child is frustrated that their picture isn't perfect, offer a technique only if they ask; otherwise, helping a young perfectionist enjoy coloring has gentler ideas.
A simple practice path
- Week 1: even light layers on big shapes.
- Week 2: the three-color challenge, then warm and cool colors.
- Week 3: blending two colors, then a sunset.
- Week 4: texture strokes on an animal or a tree.
- Week 5: highlights: shiny things, then eyes.
Ten or fifteen minutes, a few times a week, is plenty. Most children start using a technique on their own once they've tried it twice.
Every article in this guide
New coloring techniques appear here as soon as they are published.
Every article in this guide · 13
- How to Color Snow and White Things: Snowy Ground, Snowflakes, Snowmen and White Animals (Easy Steps for Kids 6–12) White is the hardest color to color, because the best white is the paper itself. How to make snow, snowflakes, snowmen and white animals look bright and finish…
- How to Color Faces and Expressions: Eyes, Cheeks, Mouths and Hair (Easy Steps for Kids 6–12) Faces are where a coloring page comes alive, and where children most often get stuck. The right order, a light touch on small features, and how eyebrows change…
- How to Color Trees and Leaves in Every Season: Trunks, Leafy Tops and Autumn Colors (Easy Steps for Kids 6–12) Trees fill half of many coloring pages. How to color a trunk that looks like bark, a leafy top that isn't one flat green, leaves with veins, and the same tree …
- How to Color Fur, Wood, Water and Stone: Easy Texture Techniques for Kids (Ages 6–12) Short strokes for fur, long lines for wood, wavy bands for water, dots for stone: four simple texture techniques that make a coloring page come alive, with the…
- How to Blend With Crayons: 5 Easy Techniques for Smooth Color, Sunsets and Shading (Ages 6–12) Crayons blend better than most people think. Five simple techniques, from light-to-heavy layering to burnishing with white, for sunsets, fur, shadows and skies…
- How to Fill Big Areas When Coloring (Without Pressing Hard, Streaks or Sore Hands) Big skies, meadows and walls are where children get tired, press too hard or give up. Simple techniques for crayons, colored pencils and markers that fill larg…
- Coloring From 6 to 12: What Changes as Kids Grow, and How to Keep Up A 6-year-old and an 11-year-old color very differently. What typically changes from 6 to 12 (detail, patience, tools, interests), which pages and supplies suit…
- How to Color Shiny Things: Glass, Metal, Water Drops and Bubbles (Easy Highlights for Kids) The secret of shine is leaving white. How to make a window look like glass, a bell look like metal and a raindrop look wet, with one simple rule and a few easy…
- The Three-Color Challenge: A Fun Coloring Game That Makes Kids Think About Color Choose only three colors and color a whole page with them. A simple game for ages 6–12 that turns color choice into a puzzle, with five ways to pick the three,…
- How to Make Your Own Coloring Page With Your Child (From a Drawing or a Photo) A coloring page of your own house, pet or favorite toy: trace the main shapes from a photo, or turn a child's drawing into clean outlines. Simple steps with pa…
- Pattern Doodles for Kids: Dots, Stripes and Swirls to Fill Any Shape (Ages 6–12) When a big shape feels boring to fill, fill it with a pattern instead. Ten easy pattern doodles, how to combine them, and a few games that turn any coloring pa…
- How to Color a Night Sky: Stars, Moonlight and Dark Backgrounds Made Easy (Ages 6–12) Night skies are the page children ask about most: how do you keep the stars white, make the dark look deep and the moon glow? Five simple ways, from a two-blue…
- Color Theory for Kids (Ages 6–12): The Color Wheel, Warm and Cool Colors and 6 Easy Activities Primary and secondary colors, warm and cool, light and dark, opposites that pop: the color basics children ages 6–12 can actually use on a coloring page, expla…
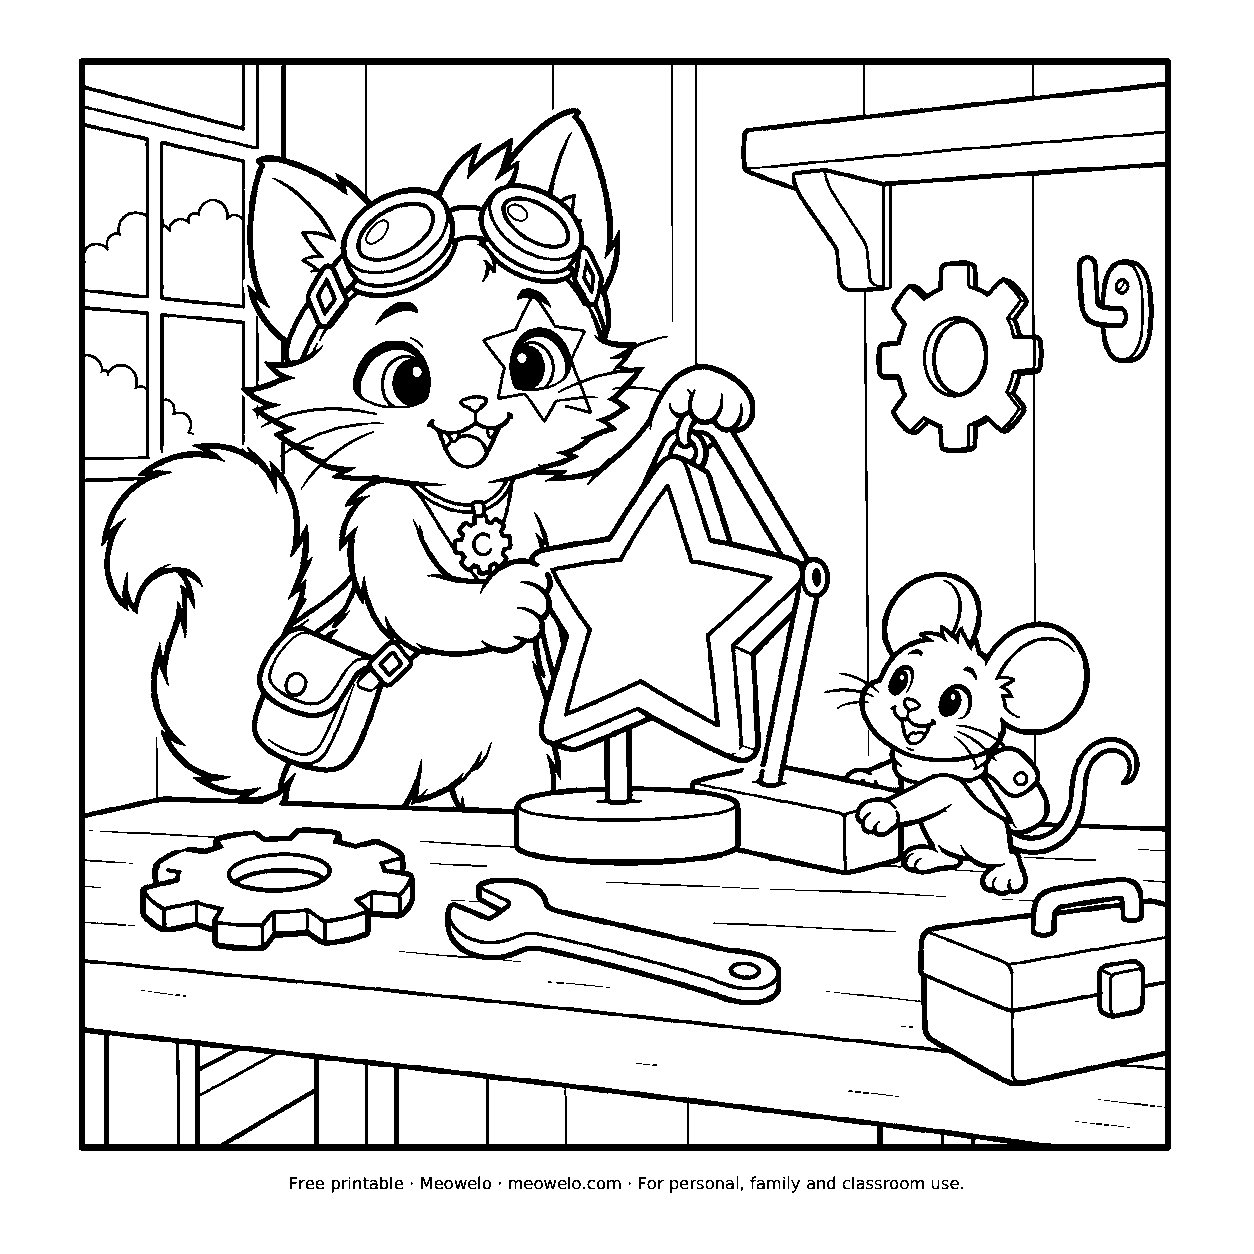
Rinwa and the Crooked Stars
Pico's little wooden block helps Rinwa try a new place for a crooked star lantern.
Print it freeQuestions parents ask
What coloring techniques should kids learn first?
How do you stop coloring from looking streaky?
At what age can kids learn shading?
Do kids need special supplies to learn coloring techniques?
The one thing to remember
Light layers first, then color choices, blending, texture and light. Each technique is a new way to make a picture look the way the child imagines it, never a rule about how it should look.


Conversation
Join the conversation
Tips, questions and stories from other grown-ups. A person reads every comment before it goes live.
No comments yet. What has worked at your house? Your story might be exactly what another parent needs tonight.