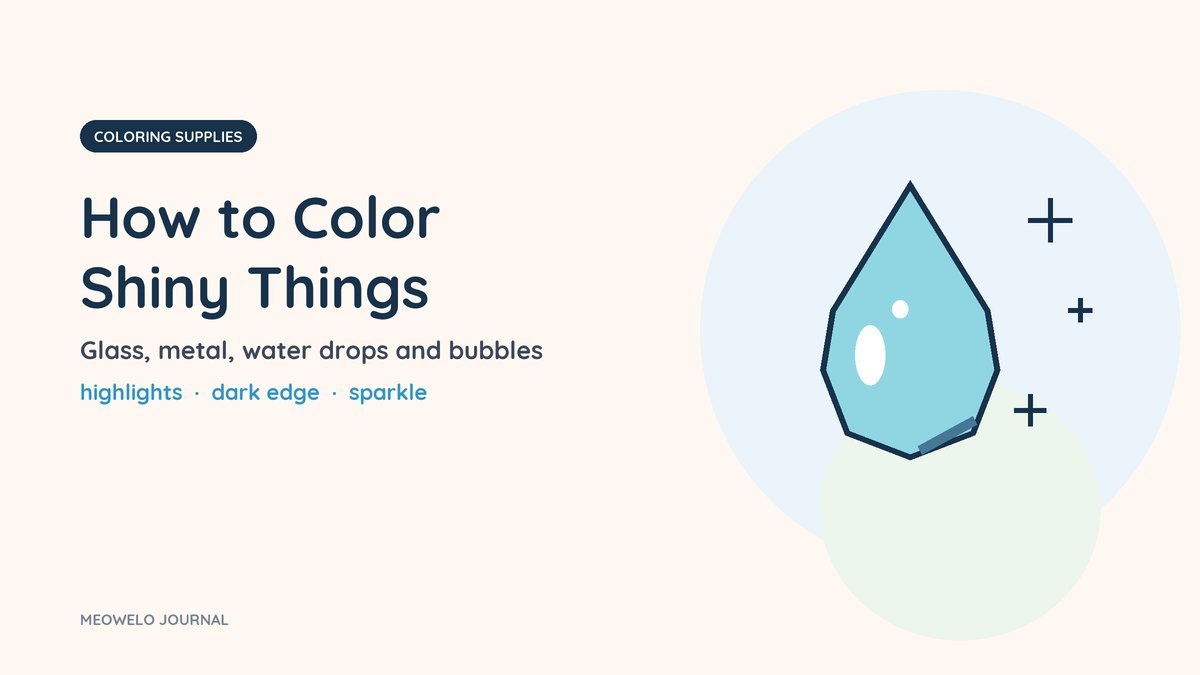

To make something look shiny, leave a small patch of white where the light hits it, color the rest, and add a darker edge on the opposite side. That's the whole secret. A white highlight plus a dark edge makes a window look like glass, a bell look like metal and a raindrop look wet, whatever colors your child chooses.
Below: the one rule, then simple steps for glass, metal, water drops and bubbles.
Affiliate disclosure. Some links below go to Amazon, and Meowelo may earn a commission if you buy through them, at no extra cost to you. As an Amazon Associate I earn from qualifying purchases. Amazon does not sponsor or endorse Meowelo. We list supplies that suit these books, and say what each one is not good for too. Full disclosure.
The one rule: light on one side, dark on the other
Pick a corner where the light comes from and use it for the whole picture. Shiny things have a bright spot facing the light and a darker side facing away. Keep the bright spot white (don't color it at all) and make the far edge a little darker than the middle.
Glass and windows
- Color the glass lightly in a pale blue or gray (or leave it white).
- Leave two or three slanting white stripes across it, all going the same way.
- Darken one corner of each pane slightly.
Metal: bells, pots, keys
- Color the object in its main color (gold, silver-gray, copper).
- Leave a sharp white highlight near the light side.
- Add bands of darker color beside the highlight and along the far edge: metal has strong contrast.
Metallic crayons and markers add real shimmer on top: see metallic crayons and markers.
Water drops and puddles
- Color the drop lightly in the color of whatever is behind it.
- Leave a small white dot or curve near the top on the light side.
- Darken the bottom edge of the drop, and add a small shadow underneath.
Bubbles
Leave the bubble mostly white, color a thin rim with two or three colors (bubbles are rainbow-ish at the edge), and add one bright white highlight. Children are always surprised how real it looks.
Tools for shine
| For | Use |
|---|---|
| Keeping highlights white | Plan them first and color around them |
| Adding highlights last | A white gel pen or white colored pencil (on light layers) |
| Strong dark edges | Sharp colored pencils |
| Real shimmer | Metallic crayons or markers |
Tools for highlights and shine
| Pick | Best for | Good to know | Buy |
|---|---|---|---|
 Sharp pencils for edgesCrayola Colored Pencils, 36 Count |
36 shades, including useful in-betweens | Needs a sharpener eventually | $6.57 on Amazon.com Price as of DetailsProduct prices and availability are accurate as of the date/time indicated and are subject to change. Any price and availability information displayed on Amazon.com at the time of purchase will apply to the purchase of this product. |
 Metallic shimmer on topCrayola Metallic Crayons, 16 Count |
Beautiful on moons, lanterns and stars | Less coverage than classic crayons on large areas | $11.89 on Amazon.com Price as of DetailsProduct prices and availability are accurate as of the date/time indicated and are subject to change. Any price and availability information displayed on Amazon.com at the time of purchase will apply to the purchase of this product. |
Amazon shows the current price and delivery. Tap any name for our full write-up, including what it’s not good for.
Once the highlight trick clicks, it works on everything: eyes, apples, lanterns. For the strokes that make other surfaces look soft or rough, see coloring fur, wood, water and stone.
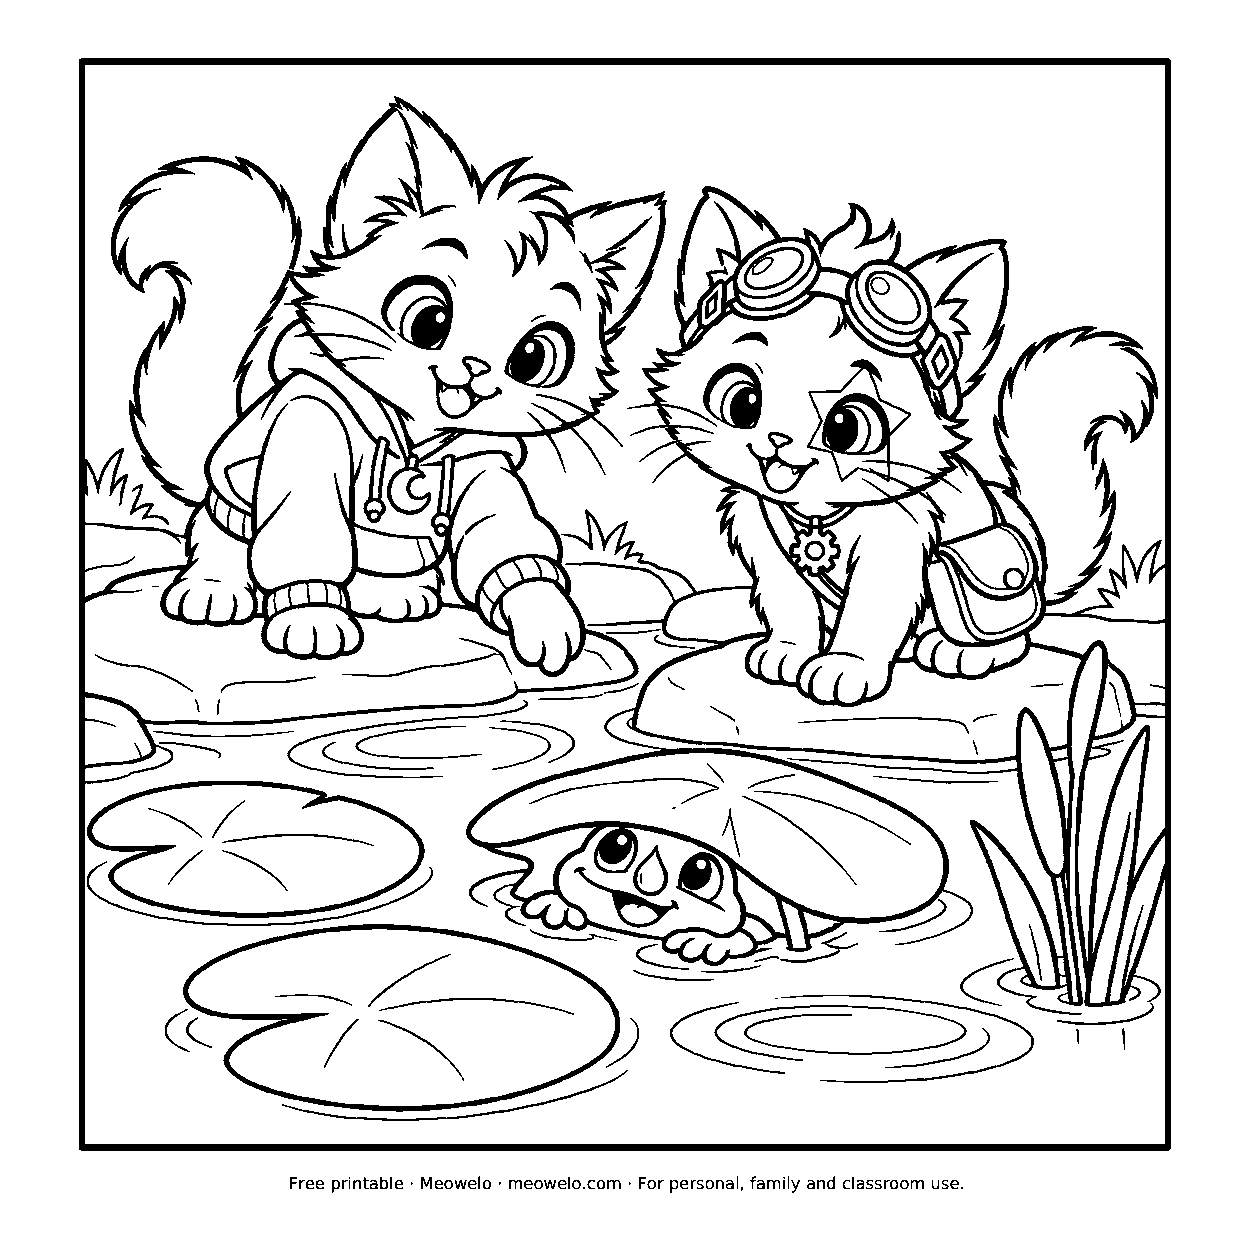
The Secret Moon Pond
Ripples reveal the tiny visitor hiding beneath a lily pad.
Print it freePractice page: five shiny objects
Before trying highlights on a whole picture, draw five simple shapes on a scrap page and practice one each: a ball (a round highlight), a window (two slanting stripes), a raindrop (a small curve), a bell (sharp highlight and dark bands) and a bubble (mostly white with a colored rim). It takes about fifteen minutes, and children are usually amazed how quickly the shapes start to look real.
| Object | Highlight shape | Where |
|---|---|---|
| Ball or apple | Small oval | Upper side, toward the light |
| Window | Two slanting stripes | Across the pane, same angle |
| Raindrop | A tiny curve | Near the top |
| Metal bell | A sharp vertical streak | Next to a dark band |
| Eye | One tiny dot | Same corner in both eyes |
The eye trick
A tiny white dot left in each eye makes any character look alive. The secret is consistency: put the dot in the same corner of both eyes, on the side the light comes from. Children who learn this one trick often start using it on every character they draw.
Common mistakes
- Highlights on different sides: pick one light direction for the whole picture.
- Too many highlights: one or two per object is enough.
- Coloring over the white: plan the highlight before you start, or add it at the end with a white gel pen.
- No dark side: without a slightly darker edge, the highlight has nothing to shine against.
Highlights work beautifully on a night scene too: see how to color a night sky.
Where to practice next
Look for shiny things on any coloring page: a lantern, a window, a puddle, an eye. Adding one highlight to each is a quick way to make the whole picture glow.
Try a shiny scavenger hunt: walk around the house and look at where the light makes a bright spot on a spoon, a window, a glass of water or a pair of shoes. Then come back to the page and add those highlights on purpose. Children who have really looked at light remember where the highlight goes, and their pictures start to look three-dimensional almost overnight.
Questions parents ask
How do you make something look shiny in a drawing?
How do you color glass?
How do you color metal with colored pencils?
Can you add white on top of colored pencil?
The one thing to remember
Shine is mostly white you didn't color. Pick where the light comes from, save a bright spot, darken the far side, and anything can sparkle.


Conversation
Join the conversation
Tips, questions and stories from other grown-ups. A person reads every comment before it goes live.
No comments yet. What has worked at your house? Your story might be exactly what another parent needs tonight.